We are going to talk about how to get static images (.jpg, .bmp or .png) from video content on PC or Mac using free tools. There are many different software products out there, to make it easy for you we have picked the few of the most common, so you don’t have to try them all. If you are interested on how to optimize images, read Bulk Image Optimisation article instead.
With Scrollsequence, it is important to capture as many frames from the source video as possible without any duplicates. That’s why we have put the converters to a test to see if it captures really EVERY frame for you.
Video used for testing
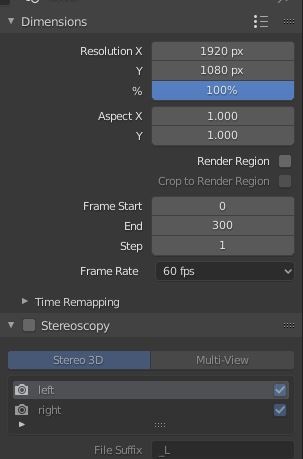
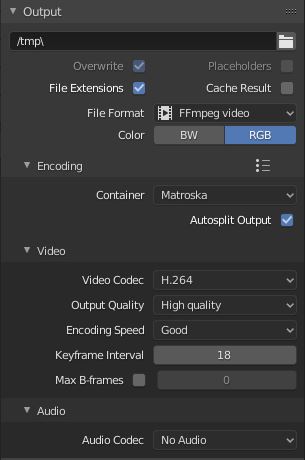
Test setup is simple. In blender I have created a 5second .mkv FullHD video at 60 frames per second. That equates to 300 frames. Perfect result for an export tool would be to have 300 unique images at the end of the test.
Video details: 1920 x 1080 pixels, 60fps FFmpeg video with H.264 video codec at high quality.
Let’s start exporting!
Online Converters
1. Ezgif.com
Ezgif features a range of different online conversion tools. You can find here a lot of tools to manipulate video, gifs and images, watermark and all is done for free with a reasonable quality. So, lets put Ezgif to the test!
We have tested both video-to-jpg converter and video-to-png converter with following results.
ezgif.com/video-to-jpg
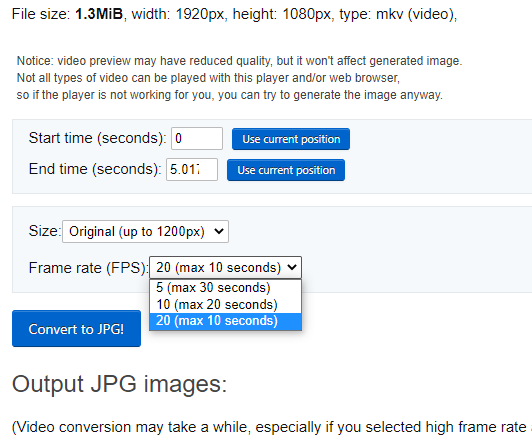
Only 1200px size and 20fps limits are allowed. After uploading the video and hitting export with the maximum settings we have received 101 frames from total 300 included in the video.
ezgif.com/video-to-png
Same 1200px size and 20fps limit applies here. We were able to get 101 frames back out of 300 and unable to download them all as zip. Website returned a 404 error.
ezgif Test Result
101 of 300 frames at lower resolution
2. Online-convert.com
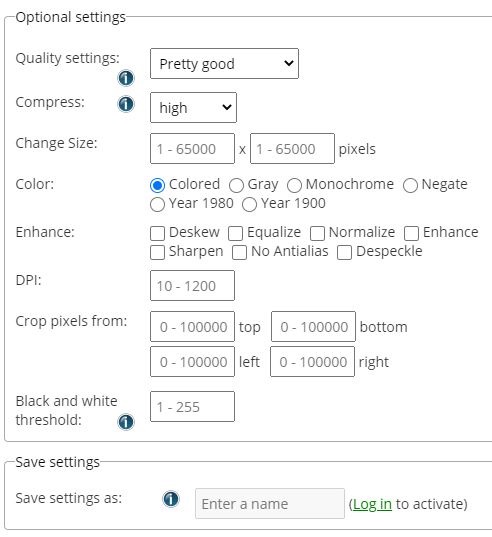
Online convert tool has a bit more options, and it does some basic quality optimizations for you as it exports them from the video. Nevertheless, from our test, we have been able to export only 51 frames from the total 300.
Online-convert
51 of 300 frames
Desktop Software
Here we are going to talk about stuff that you can download from the net and install on your device, working with videos and images locally. We have tested for you the options that are out there, and listed the ones most useful when working with Scrollsequence.
3.VLC Media Player
A lot of you have already this player installed on your system, and maybe you don’t know that it can be used for exporting static images from the videos that you watch.
VLC media player is a powerful tool at your hand as it can not only export the images, but also apply filters, color correction and whole arsenal of visual tweaks.
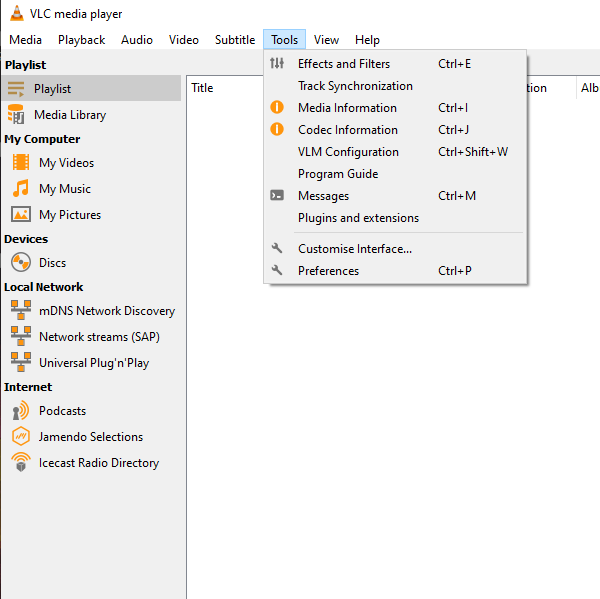
- Run VLC media player and navigate to Tools and Preferences.
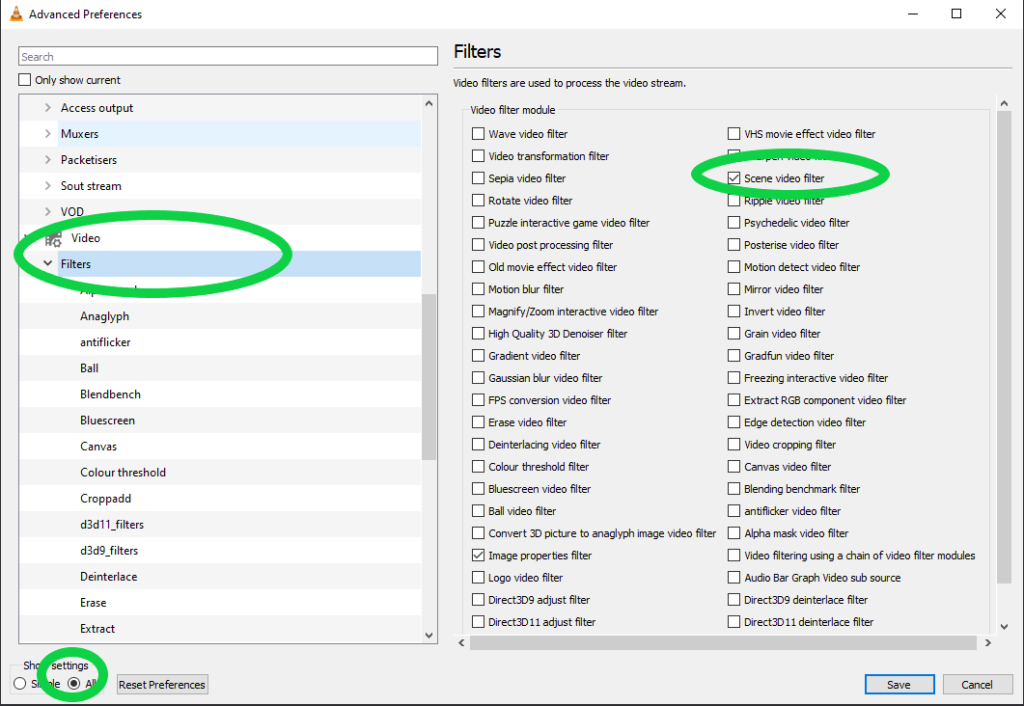
- Bottom left click on Show settings -> All and navigate to Video -> Filters and tick Scene Filter
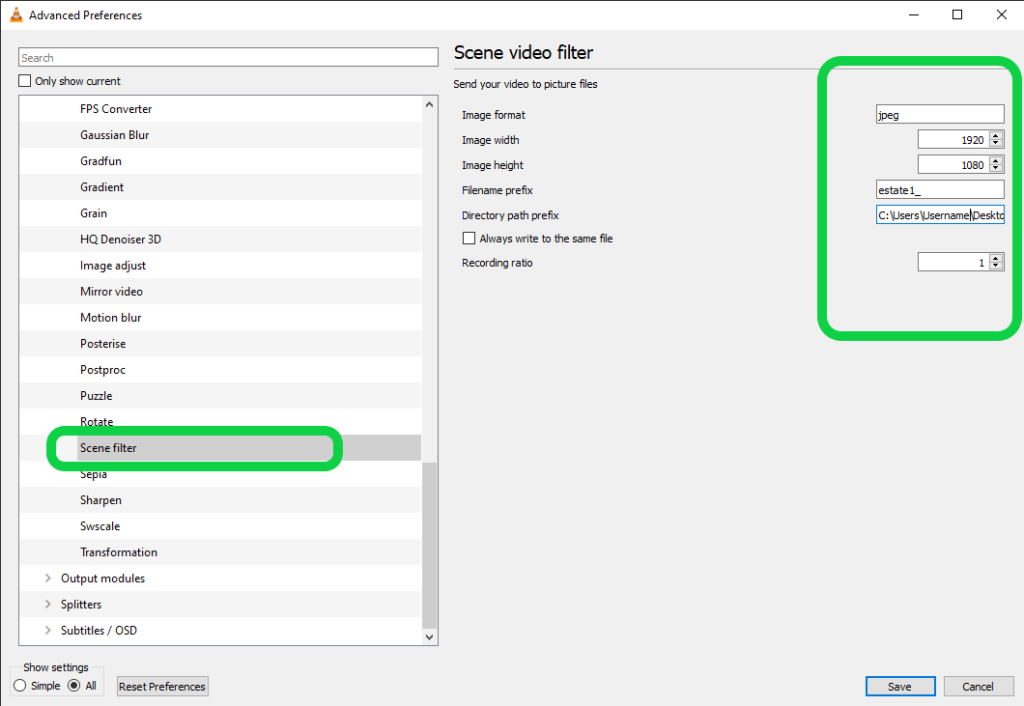
- In Scene Filter settings select the output format, image width and height. Take care to match the video source width and height! Choose filename prefix and directory path. Important: Recording ratio defines the ratio of images being saved. 1 being every image, 2 being every second image and so on.
- Press play and the images are automatically saved in the desired folder as you view the video.
Test result: Even if you set a recording ratio of 1, which means it should record every frame, it does not. Results vary on the performance of your machine. Sometime is captures nearly all frames, sometimes it captures less. There is a way around it, and it is to reduce the playback speed of the video, which in turn produces duplicate image frames.
vlc media player
280 of 300 frames
4. FFMPEG
FFMPEG is a very powerful tool. It can be quite tricky to use at first, because you have to use simple command line input, but it allows you to do almost anything. A lot of the desktop and online video processing tools out they are using FFMPEG under the hood. You can install FFMPEG on your server and do the work on server, or do it locally.
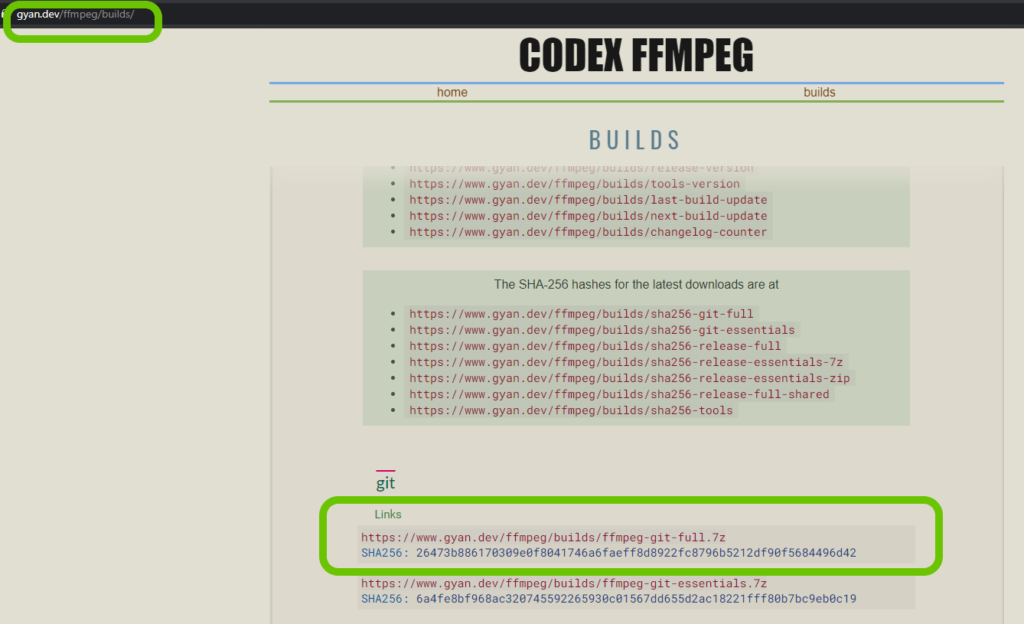
Download (gyan dev), Windows Install instructions, Convert Video to Images Instructions
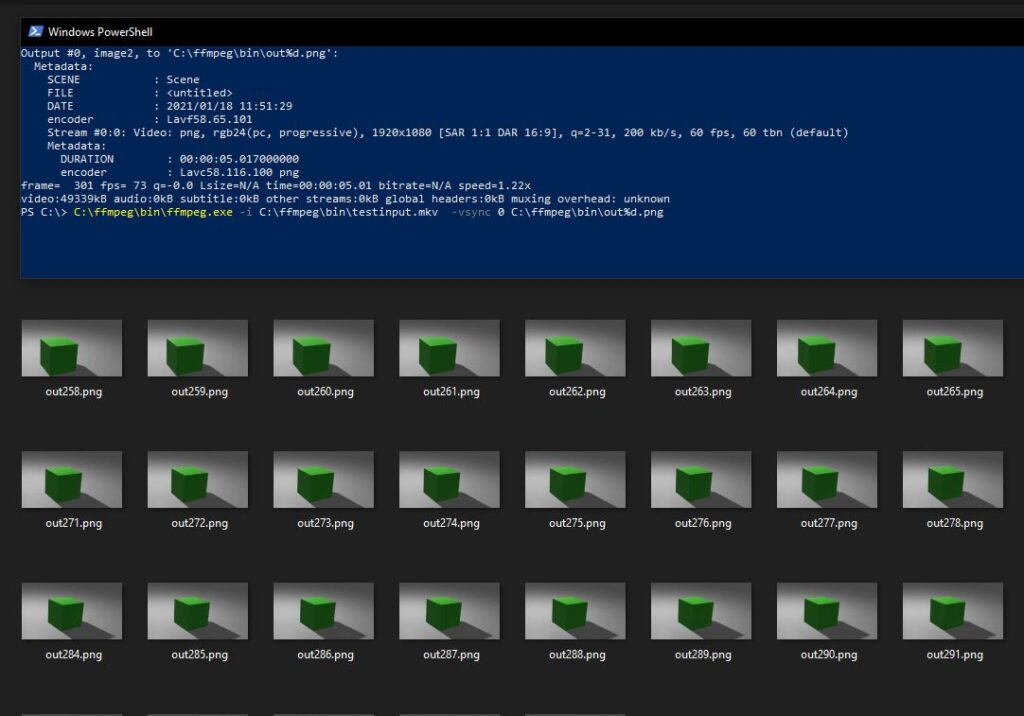
FFMPEG returned all 300 image frames that were used to create the video. no more, no less
FFmpeg Test Result
300 of 300 frames
5. VCLIP
VCLIP is built on FFMPEG, it is a bare bones simple screen grabber. Due to the fact that it grabs the screen directly, you don’t need to store the video locally. You can also very simply grab just a part of the video, or capture simply anything happening on the screen.
VClip let’s you export stuff only to video, so how do we get the images? Before you save the output as video, the .bmp images are stored in Frames subfolder of the installation path.
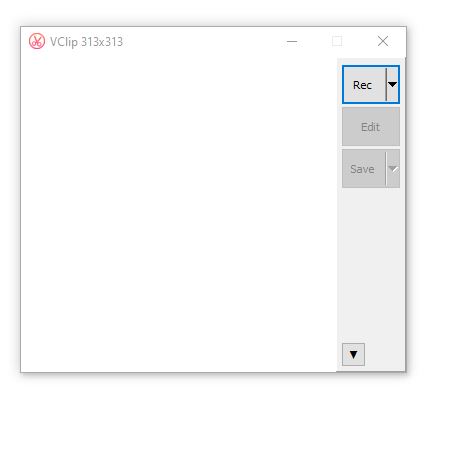
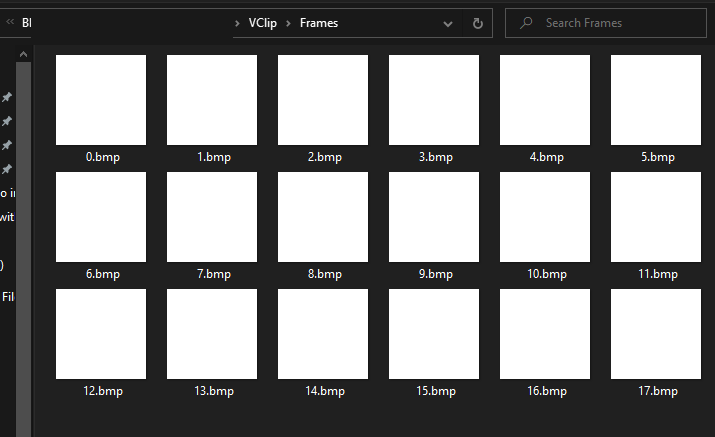
Downside is that VClip provides only .bmp output.
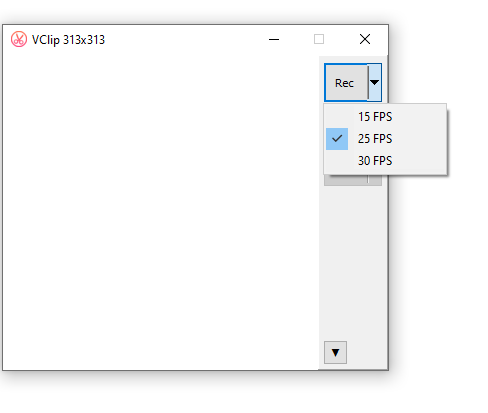
VClip has only 15,25 and 30fps options. If you have a 60fps video, you better look elsewhere. VClip rendered about 150 frames depending on how soon you press play/stop and record buttons. Achieving Full HD native resolution was impossible. VClip is only able to capture a cut-out portion of the available screen.
VCLIP Test Result
150 of 300 frames at lower resolution
Test Results and Closing Word
- FFmpeg (300/300)
- VLC media player (280/300)
- VClip (150/300)
- Ezgif (101/300)
- Online-convert (51/300)
Overall winner is FFmpeg with exporting 100% of the frames in their full resolution. It may be quite difficult to setup and learn, but provides the best results of all the free options that we have tested.
VLC media player is also a good option, if you want an easy way to get started, plus you may have it installed already., so why not to use it?
Online converters can bring fast results with minimal effort, but you cannot expect a good quality for images that you want to use for full screen.
Read next: Bulk Image Optimisation
One reply on “How to Convert Video to Images. Big Test of Free Tools”
[…] after writing this review, the developers read my mind and added a useful tutorial here. They recommend VLC or FFmpeg if you want to export as many frames as possible, as the tool that I […]