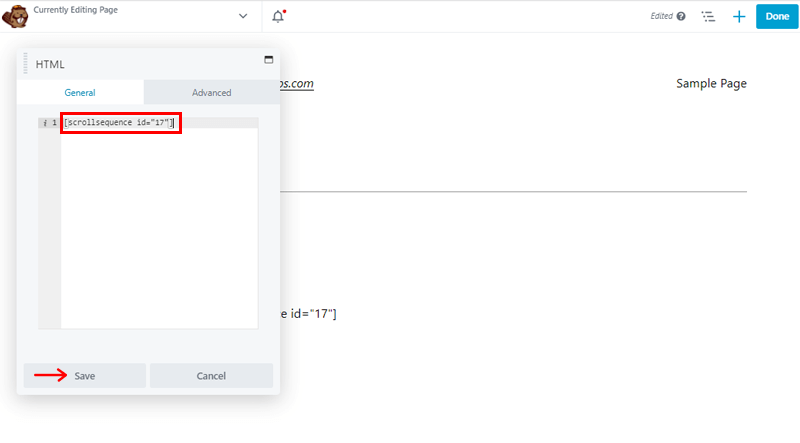
What is “Video Scroll”?
Video scroll (also called scroll scrub video, scroll controlled video, image sequence animation, or scroll driven animation) is an effect where:
- Scrolling down advances the animation forward
- Scrolling up rewinds the animation
- Pausing scroll halts the animation on the current frame
It looks like you’re “scrubbing through a video,” but behind the scenes it can be implemented in different ways:
- True video scrubbing (harder, inconsistent cross-device)
- Image sequences (most reliable for forward/backward) – you can check out our examples.
- Real-time 3D/WebGL most flexible, most complex, performance hungry, has to be done right and thoroughly tested.
If you’re new to the broader concept, see:
→ What is scroll-driven animation?
Why do brands use video scroll?
Video scroll is effective because it combines motion + user control. Instead of playing a passive hero video, the user drives the story.
Common homepage / landing page outcomes:
- Higher engagement (people explore instead of bounce)
- Better product comprehension (feature-by-feature reveals)
- Stronger storytelling (more memorable brand moments)
Have a look how performance division of Volvo – Polestar made use of video scroll to show their safety features.
Typical use cases:
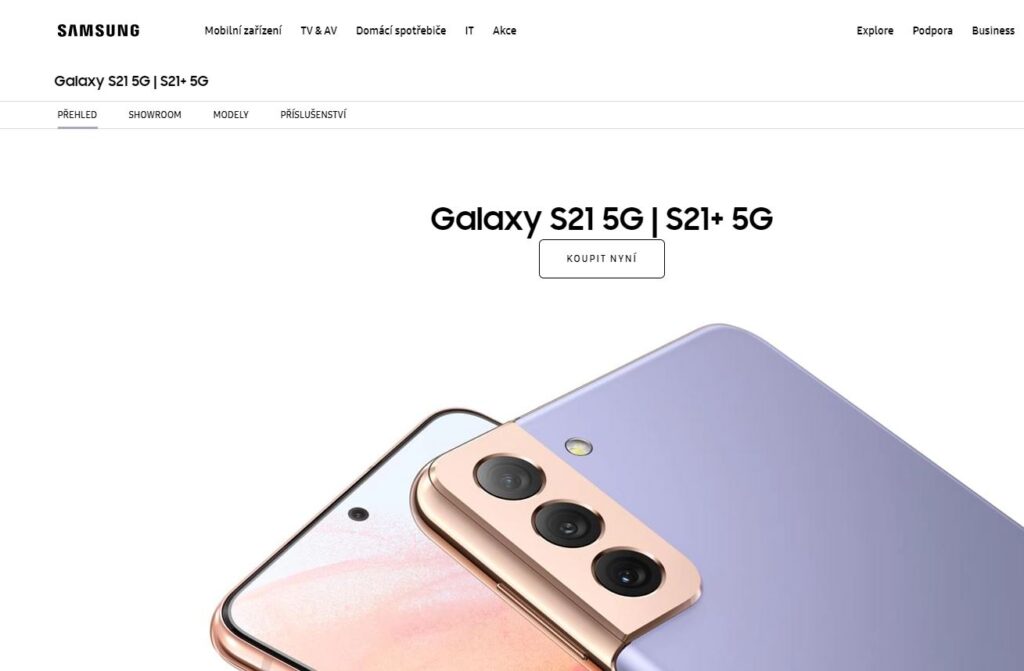
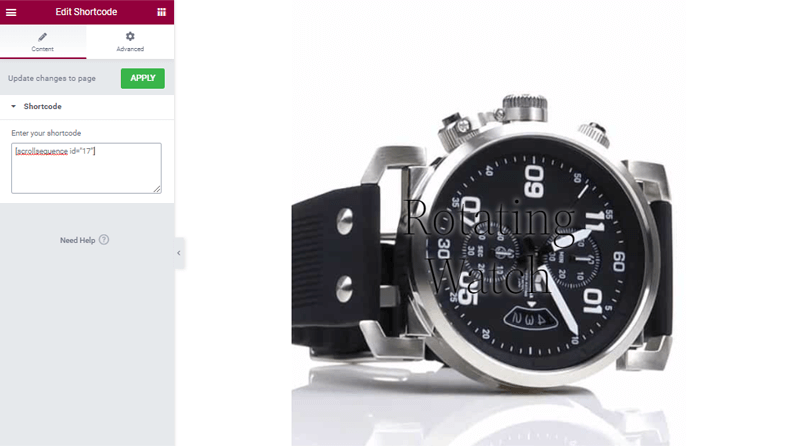
- Product rotation or “unboxing”
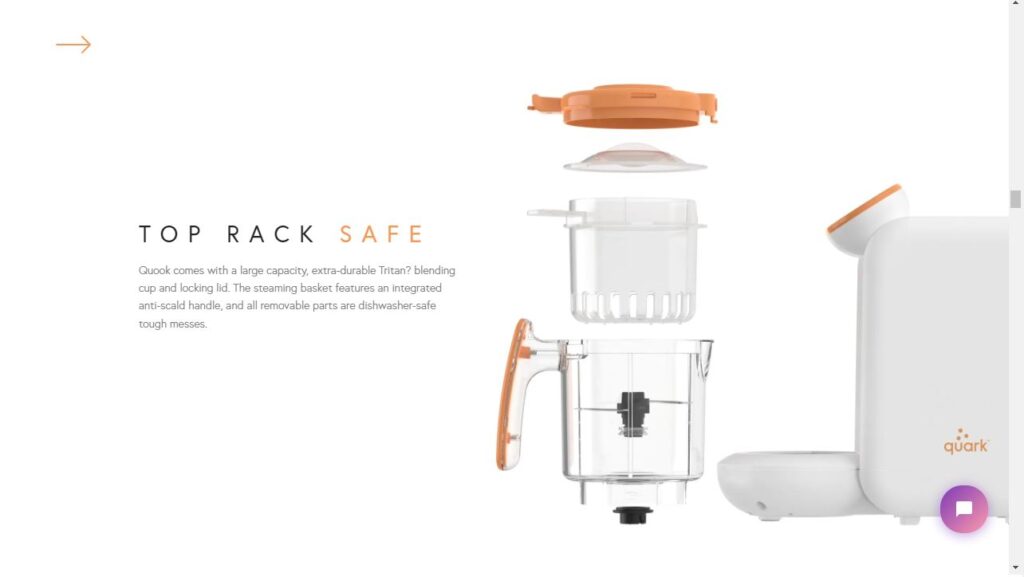
- Macro-to-wide reveal (beauty, materials, craftsmanship)
- Exploded views / layers – (see above for Volvo use case)
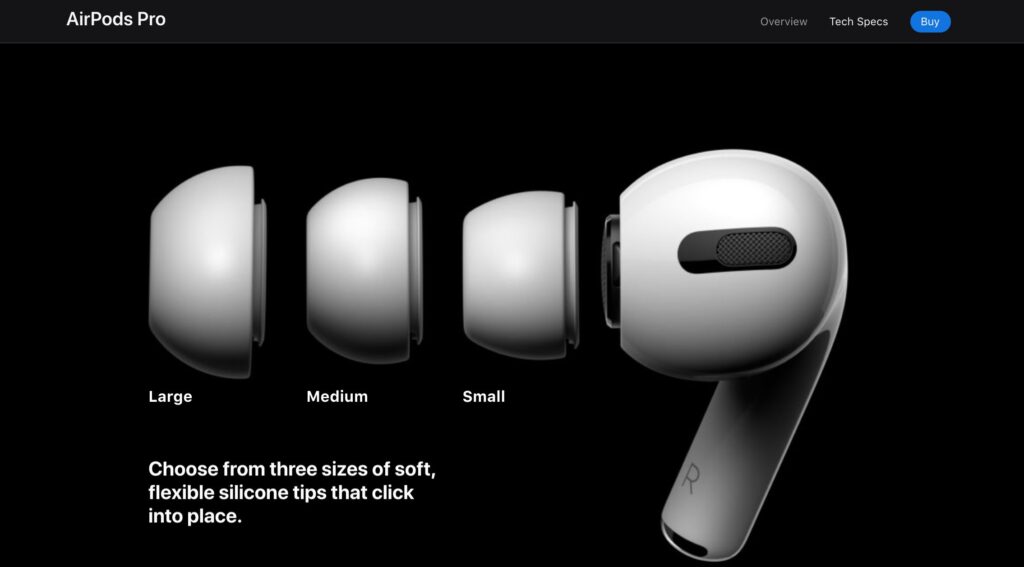
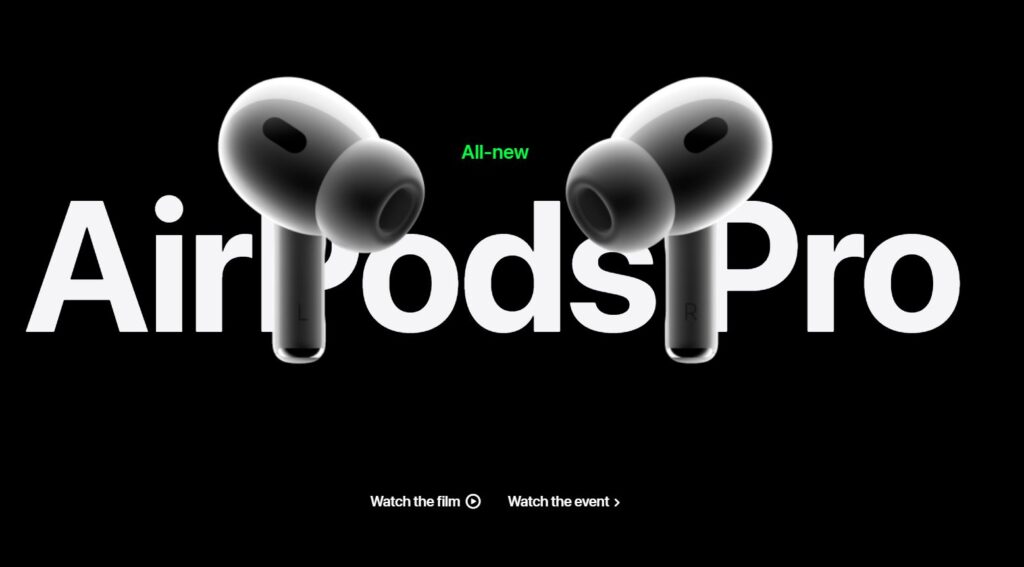
- Feature callouts synced to motion (Apple)
- “How it works” walkthroughs
Want more inspiration?
→ 7 inspiring examples of video scroll animation
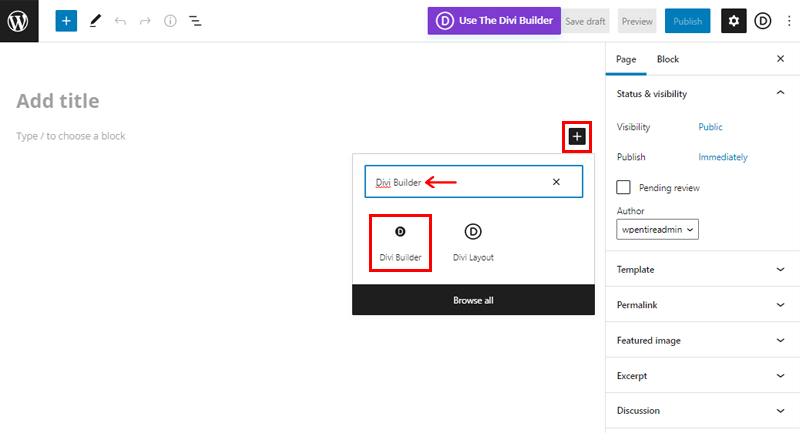
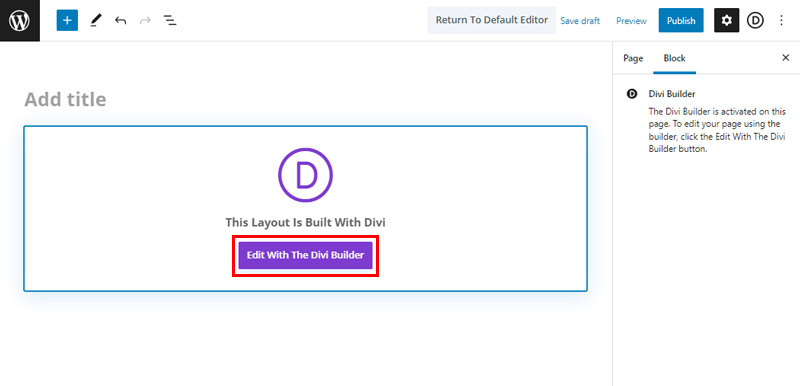
How video scroll works
Below are the 3 approaches of how to achieve this effect.
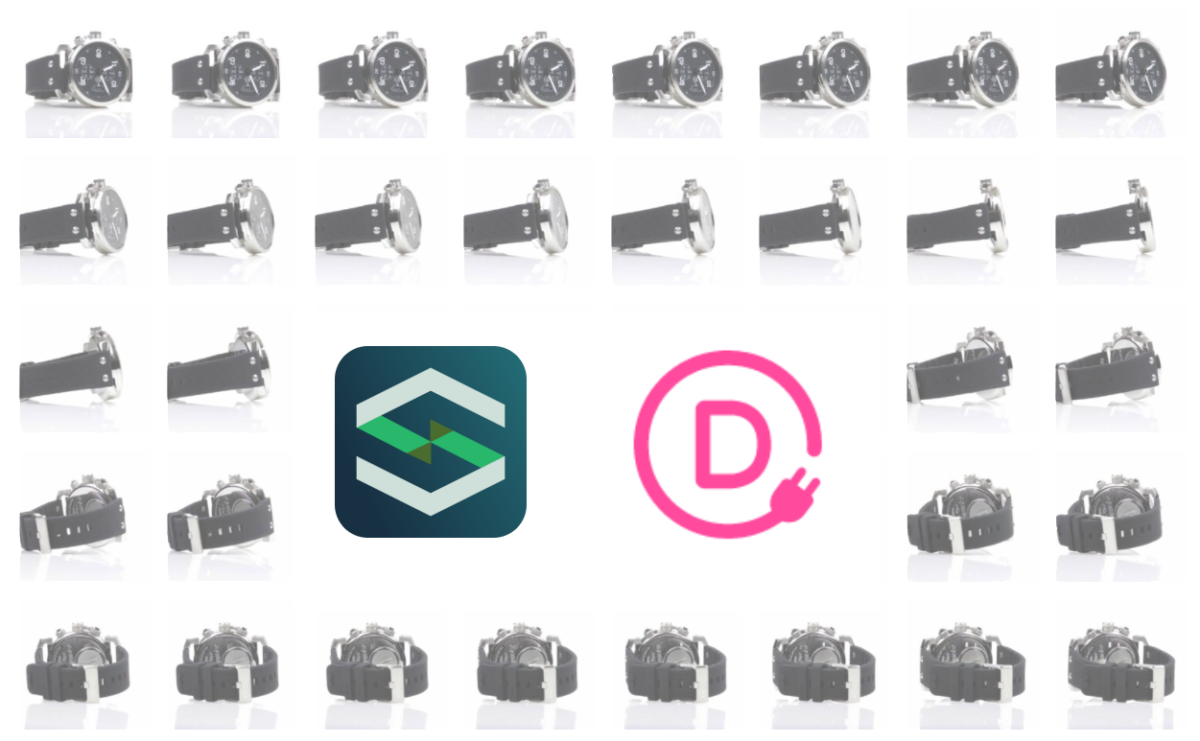
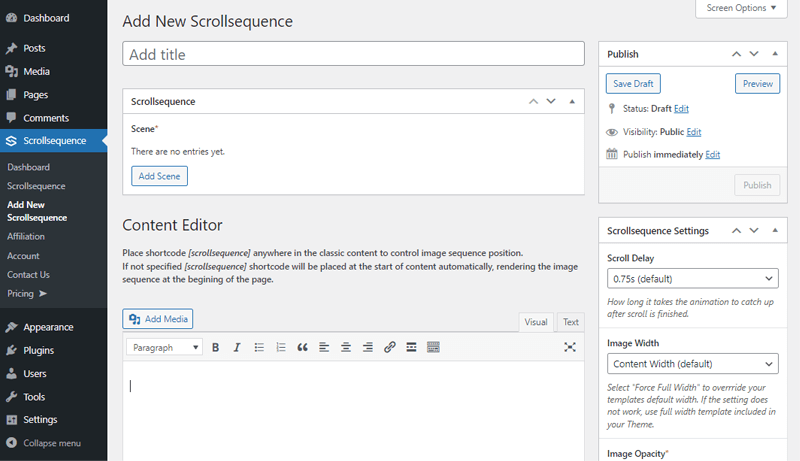
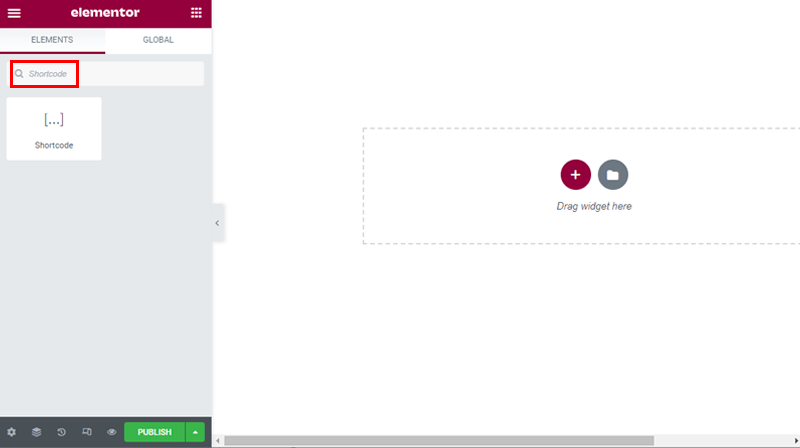
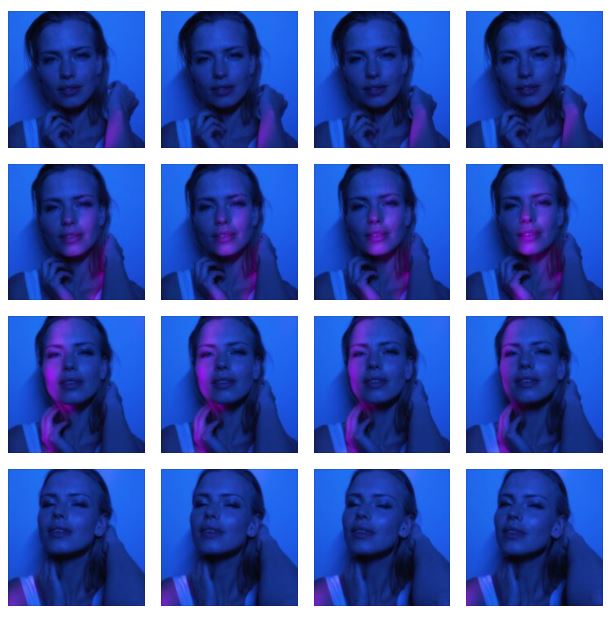
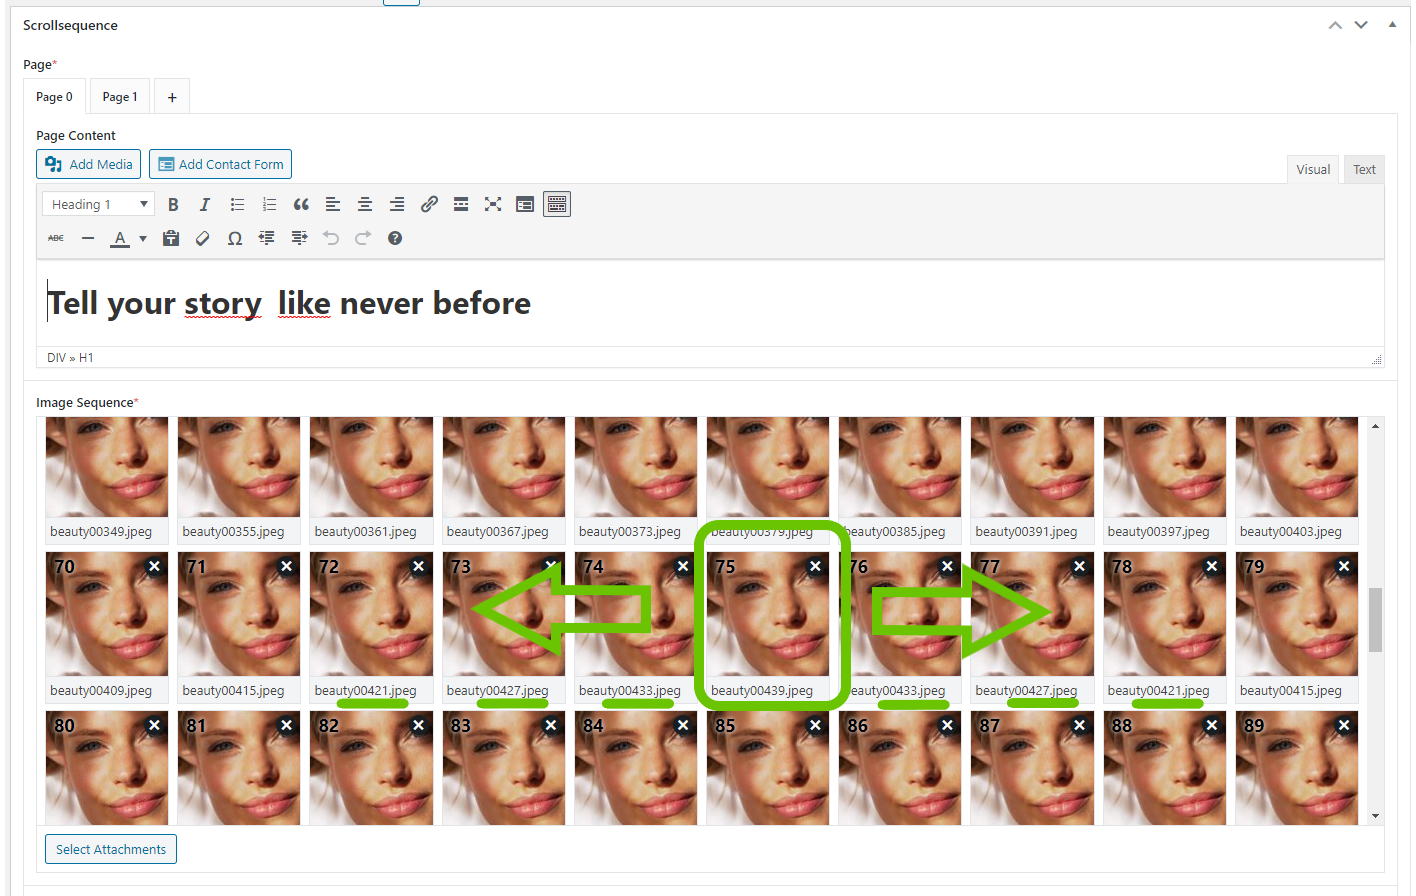
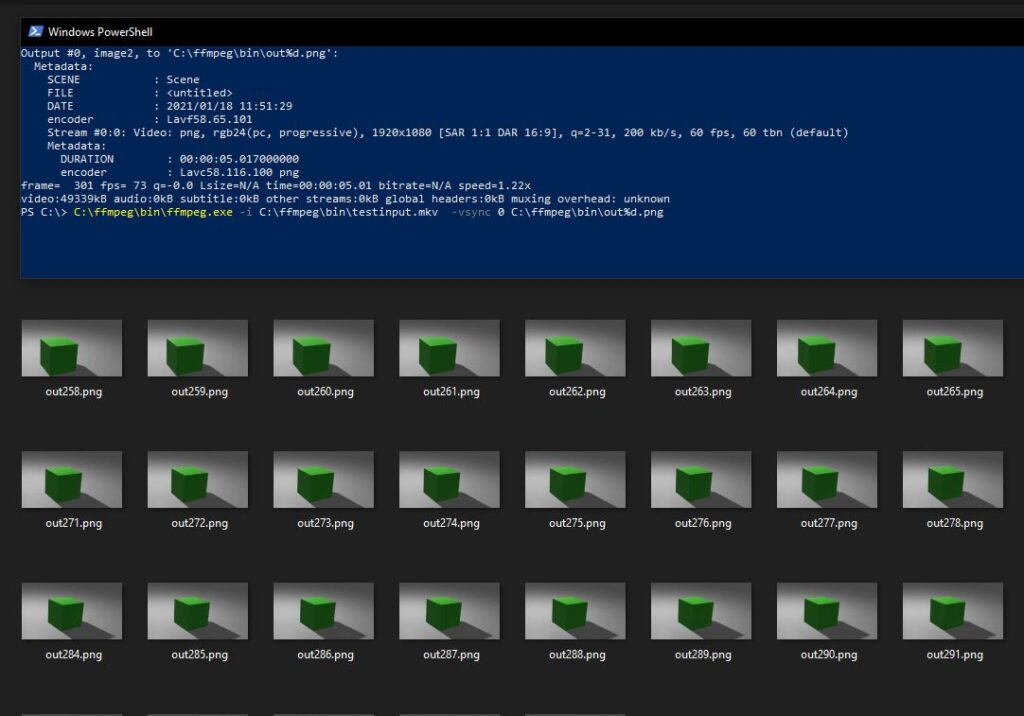
1) The most reliable method: Video → Frames → Scroll (image sequence)
This is the approach used by many “video scroll” experiences because it’s predictable in both directions.
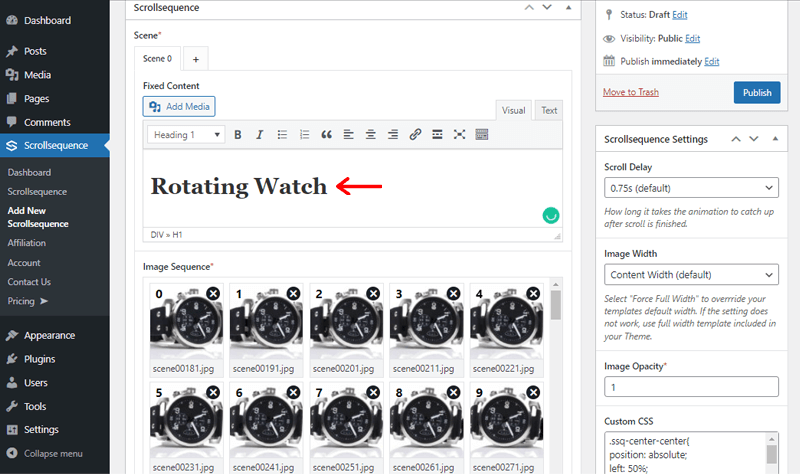
Workflow:
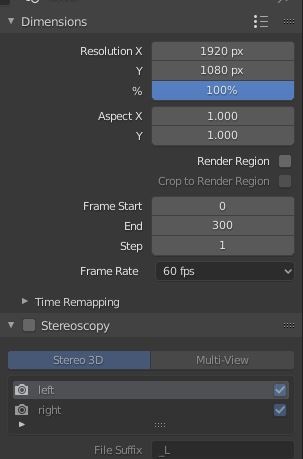
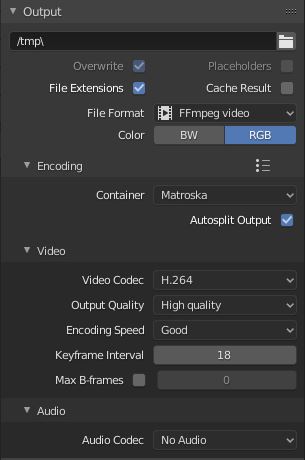
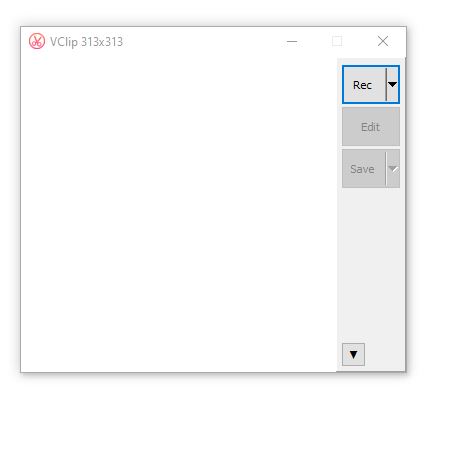
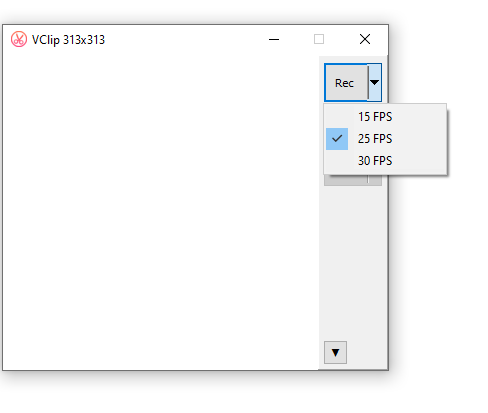
- Start with a short video (5 – 10 seconds is usually enough)
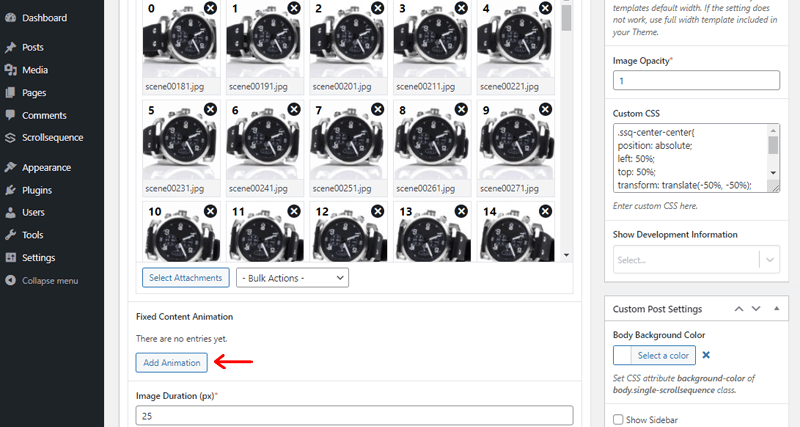
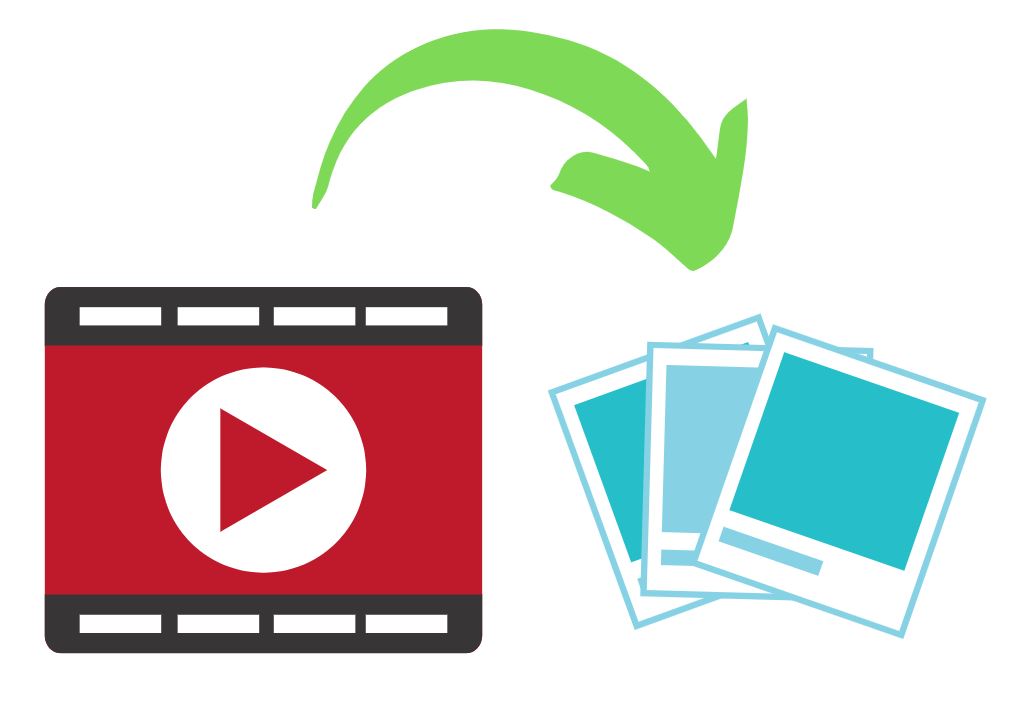
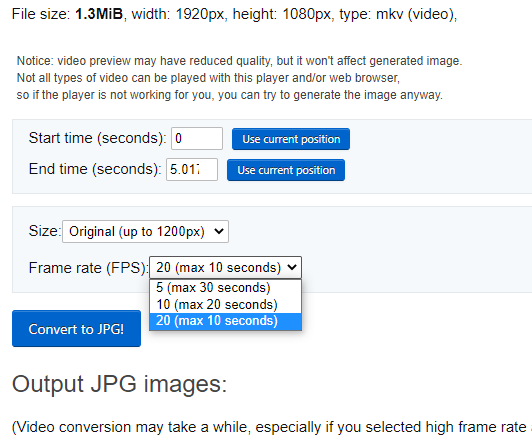
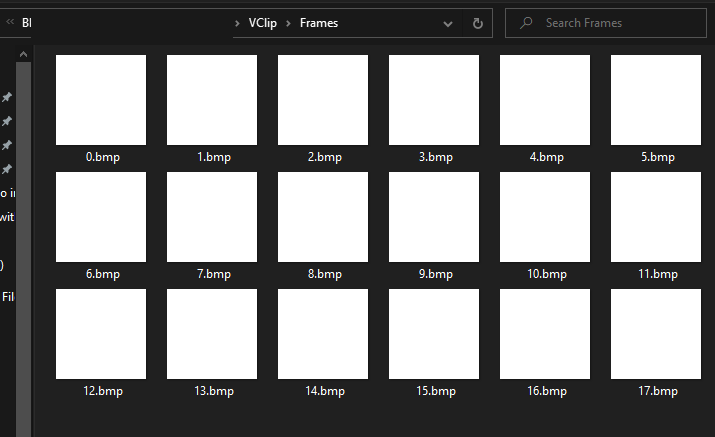
- Convert it into a sequence of frames (images)
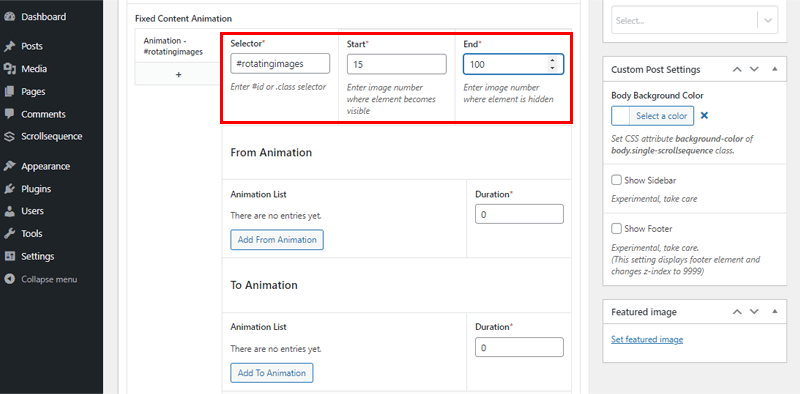
- Tie scroll position to frame number
Why it’s reliable:
- Scrubs smoothly forward and backward
- Frame-accurate control
- Easier to optimize and preload intelligently
- Works well with pinned/“sticky” sections
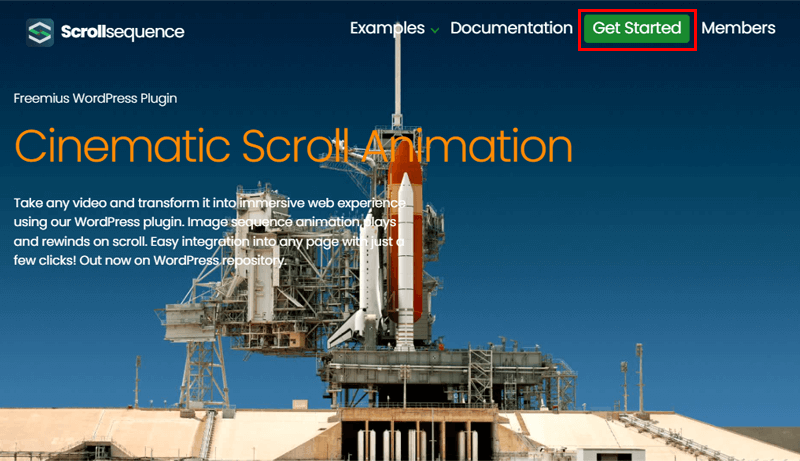
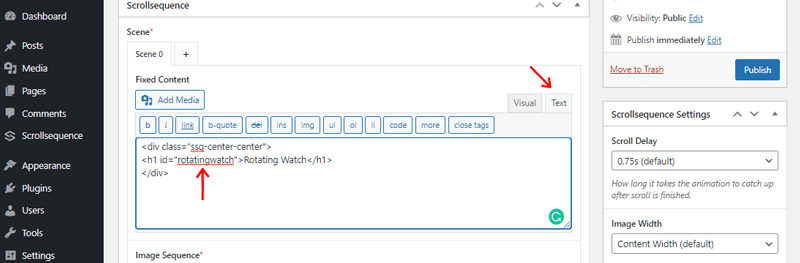
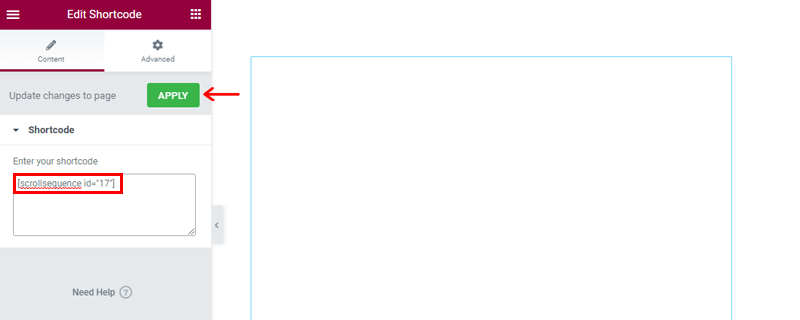
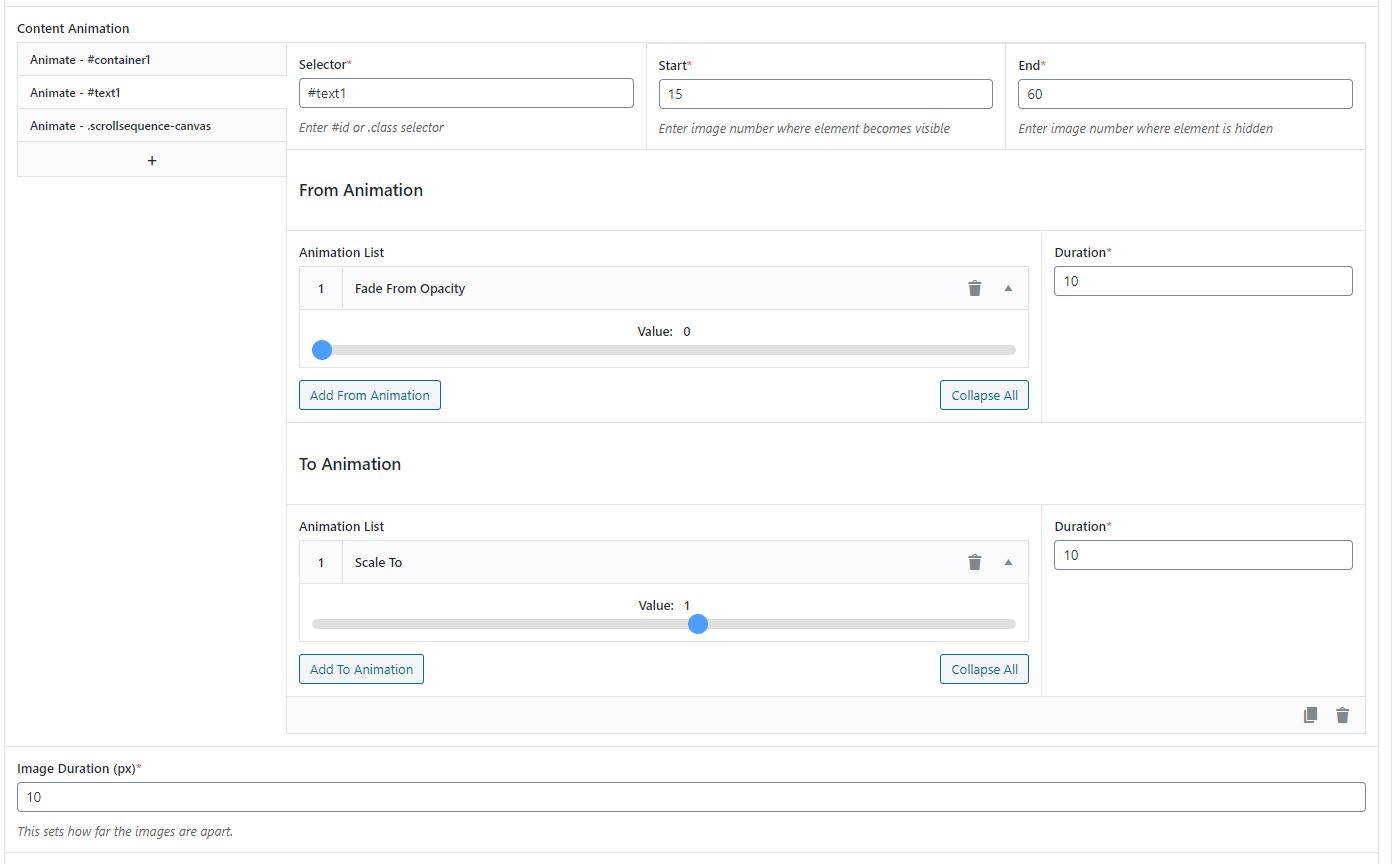
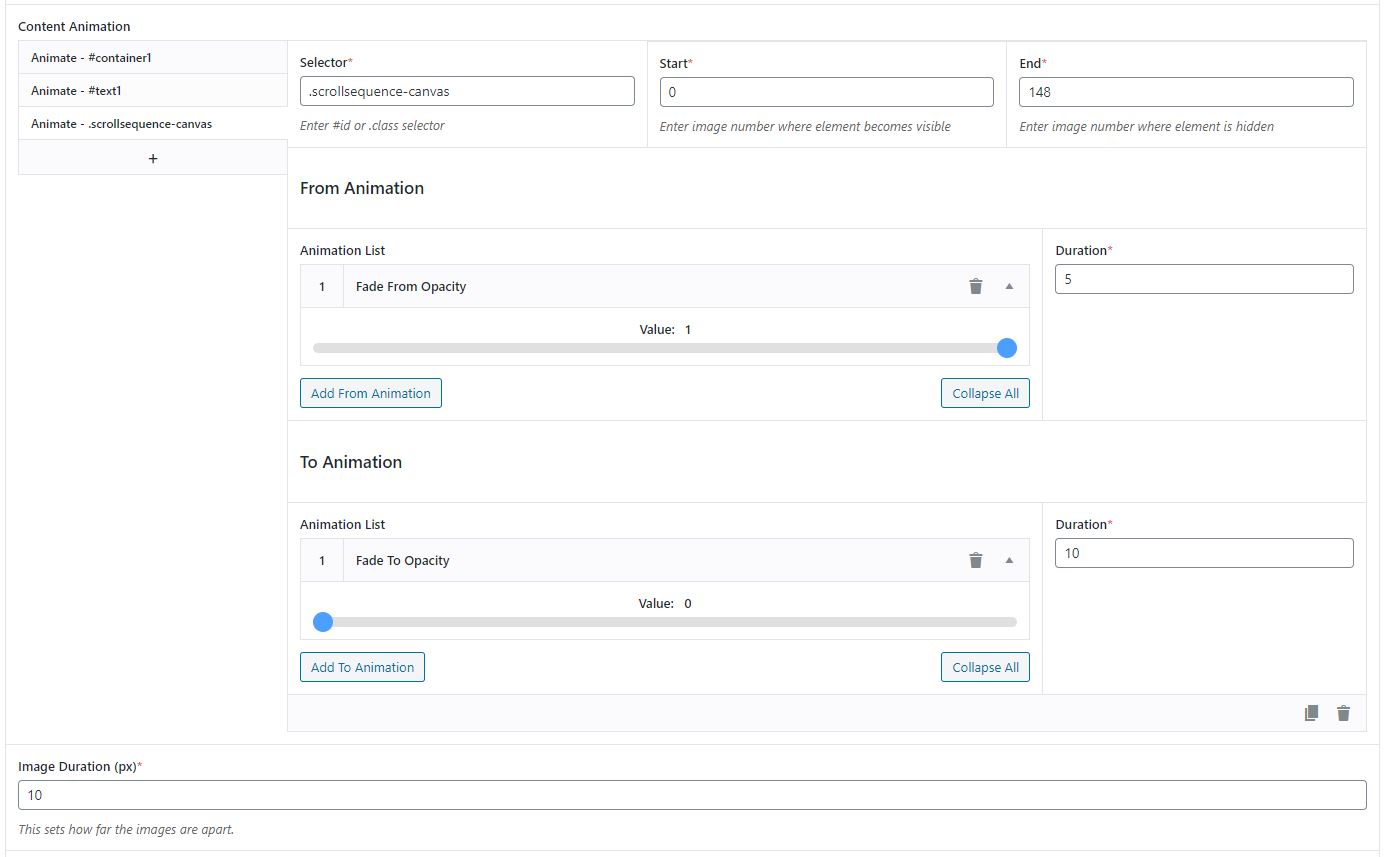
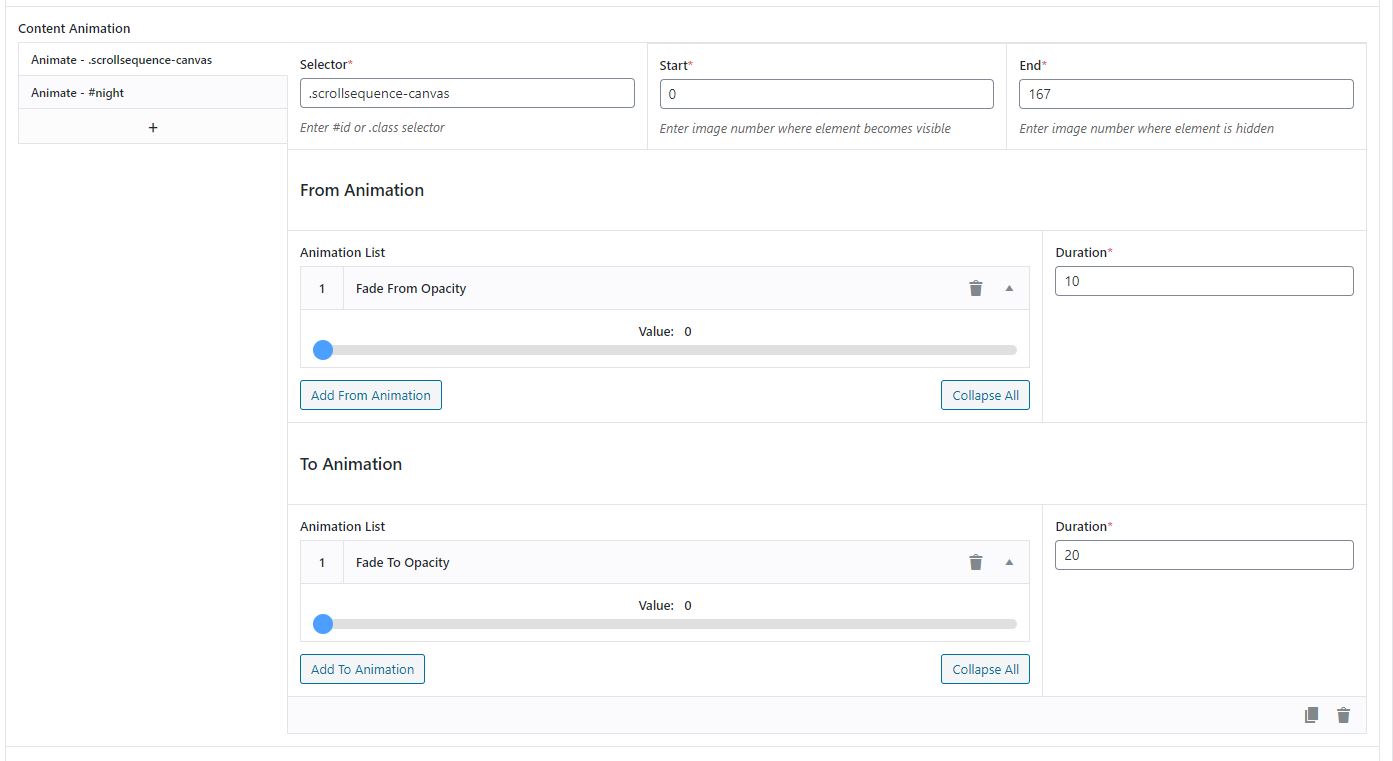
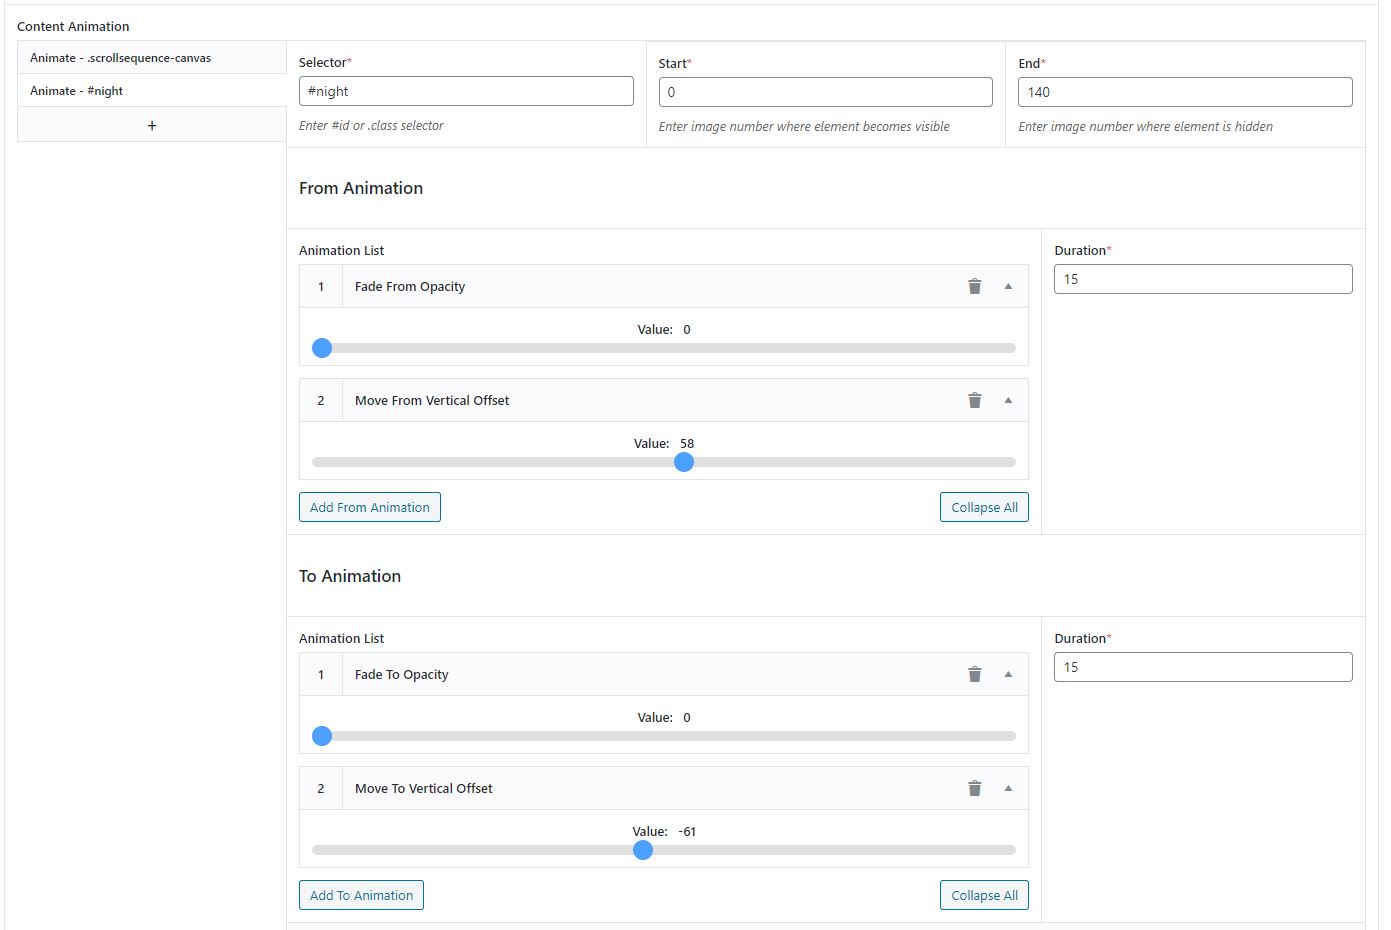
This is the core principle behind Scrollsequence: it delivers the “video scroll” effect by driving an optimized frame sequence with scroll, while letting you place content on top (headlines, features, CTAs).
Learn the concept deeper:
→ How to Create Scroll Driven Image Sequence Animations
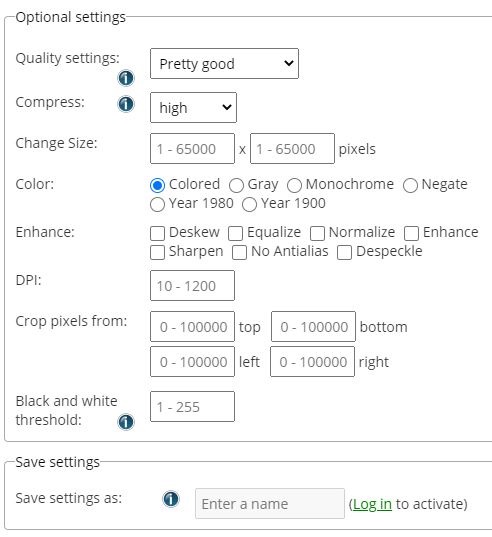
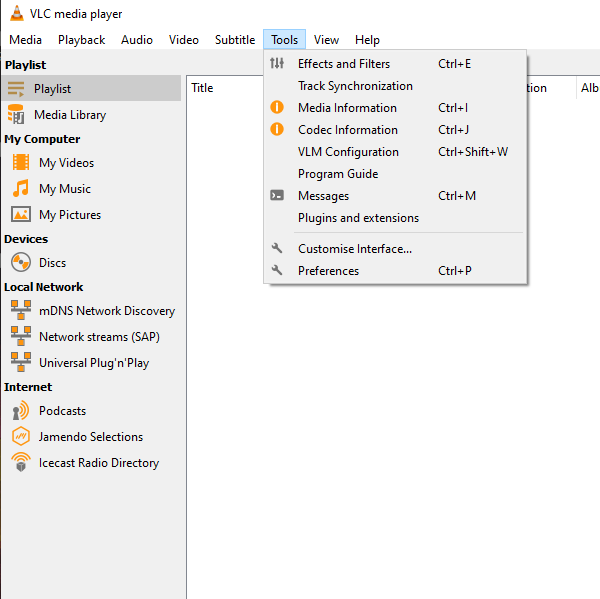
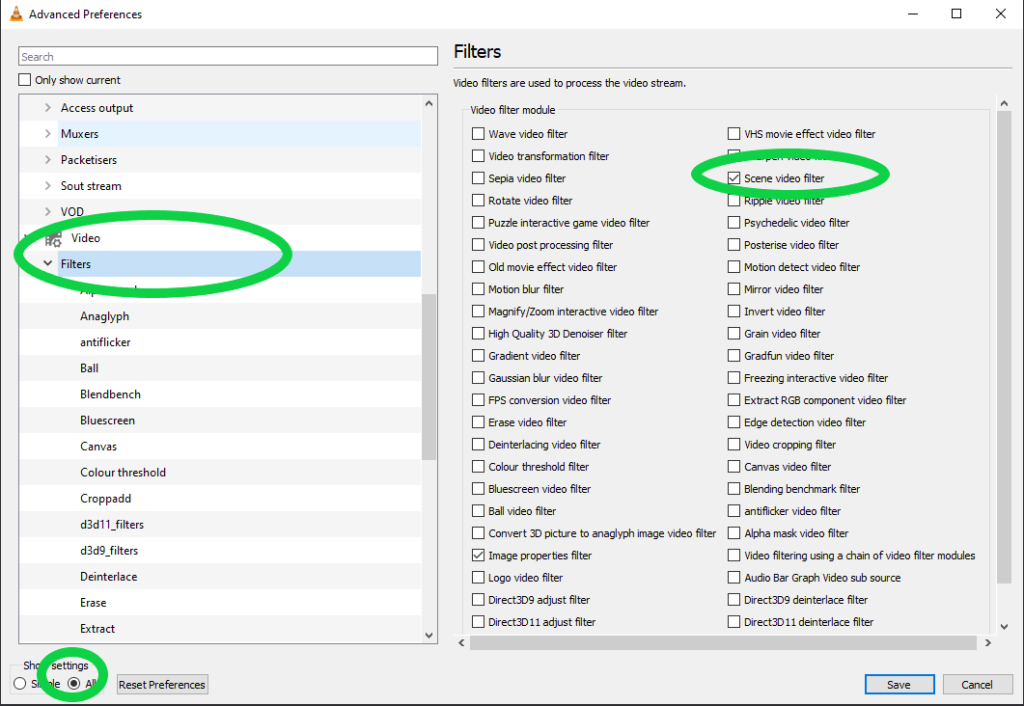
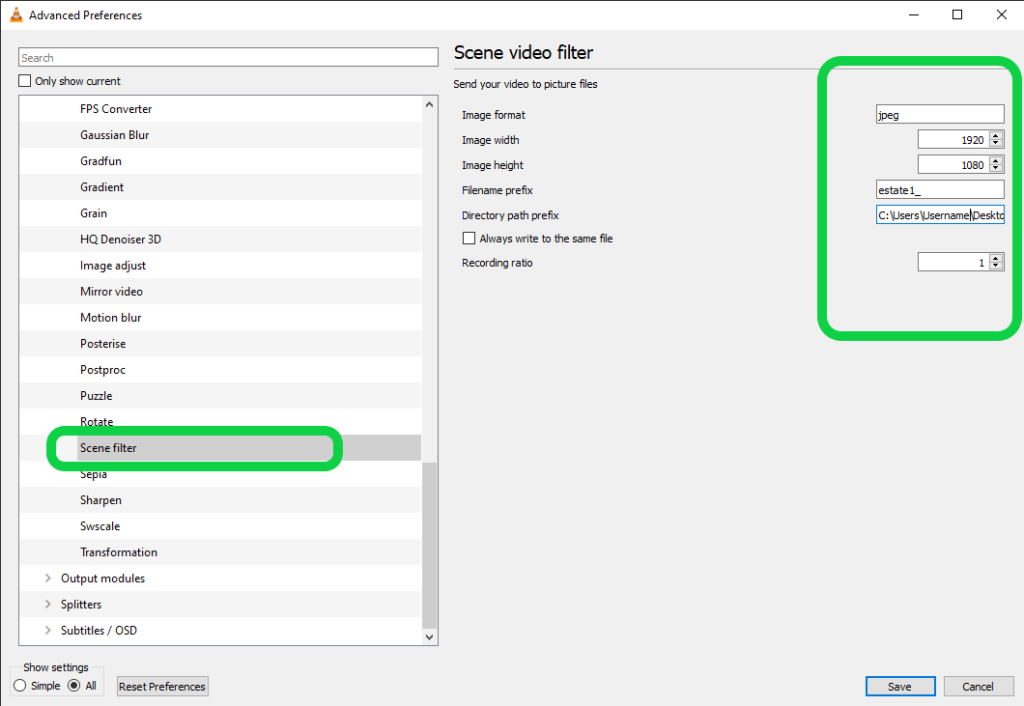
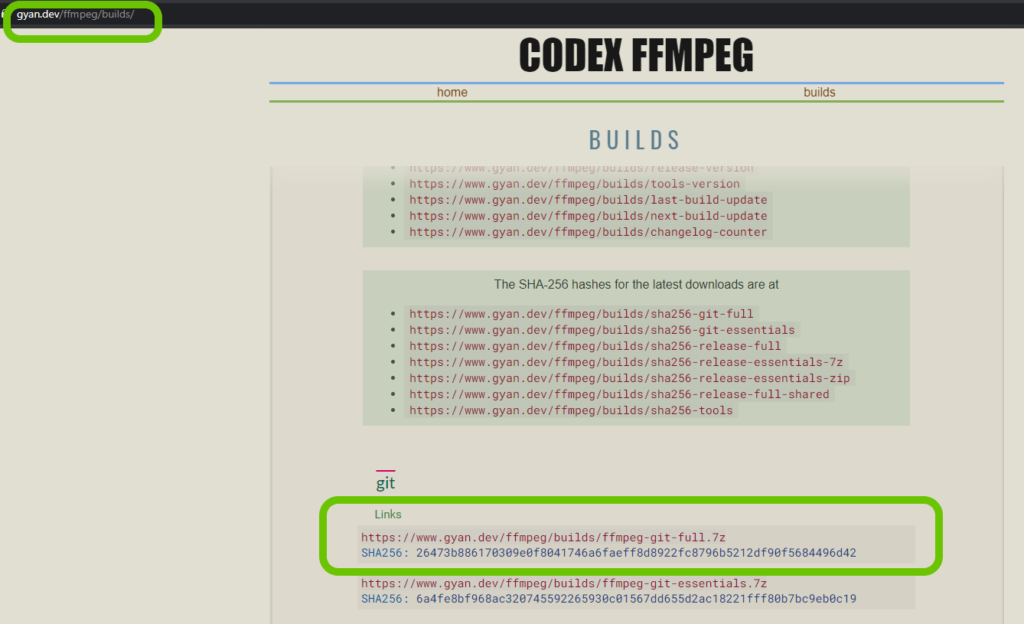
→ How to Convert Video to Images
CSS Only Video Scroll Animations
Recently there are new CSS features like scroll-timeline and animation timeline allowed videos or animations to sync with page scrolling without heavy JavaScript, but those CSS only features are currently working only in chromium browsers.
2) True video scrubbing (scroll controls a <video>)
This sounds ideal – “just scroll through a video”- but it comes with real-world problems:
- Backward scrubbing can be inconsistent across devices
- Most devices only decode a limited set of frames smoothly
- Performance varies wildly (especially on mobile devices)
- Encoding and key frames matter a lot, but even if you get it right, on another device, it will likely be janky.
See example from Nicolai, notice how the video scrubbing is not very smooth when scrolling up/down, even though the video is encoded in a plain mp4.
You can build this approach, but it’s rarely the easiest way to get a polished professional result unless you have time to test across browsers and serve the right encoding based on the device and browser.
Best for:
- Very short clips
- Controlled environments / high-end devices
- Teams who can test deeply and tune
Read more in this GSAP forum about encoding for video scrubbing.
There has been a novel concept, instead of controlling the currentTime property, adjust playbackRate. While this solves some of the problems, it is still not ideal, and some devices will struggle to render smoothly.
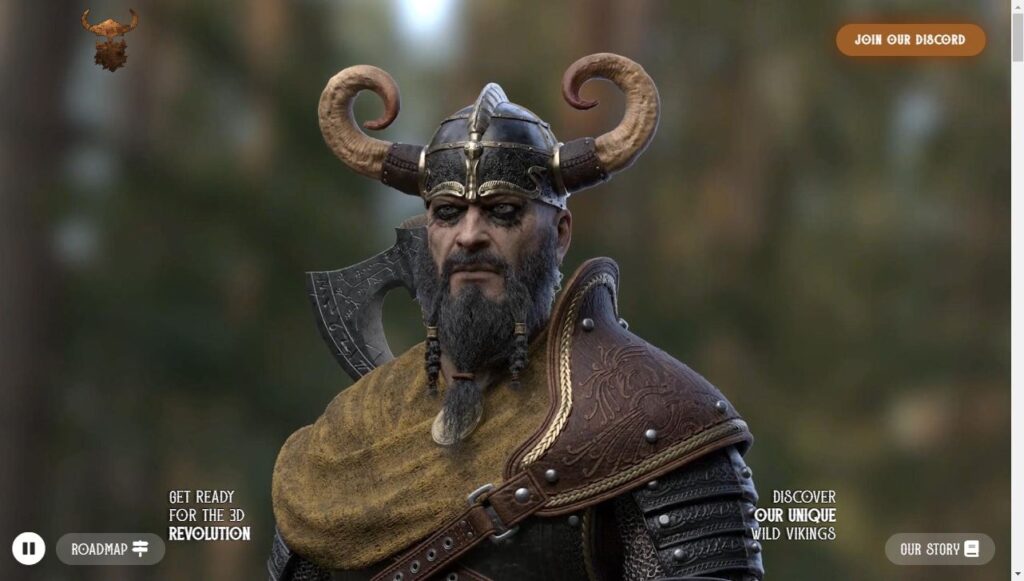
3) Real-time 3D (Three.js, Spline)
Instead of video or frames, the browser renders a 3D scene in real time and scroll drives camera movement, lighting, or object transforms.
Three.js Example

https://codesandbox.io/p/sandbox/2giomw
Porsche Example by PeachWeb

https://porsche911.peachworlds.com
Pros:
- Infinite viewpoints (not locked to pre-rendered frames)
- Dynamic lighting, parallax, interactive elements
- Can be truly “next level” visually
Cons:
- More complex pipeline
- Harder performance tuning
- More variability across devices
Performance and SEO: what matters for video scroll
A great video scroll effect can still fail if it hurts performance or hides content.
Performance basics
- Keep sequences short (don’t animate forever)
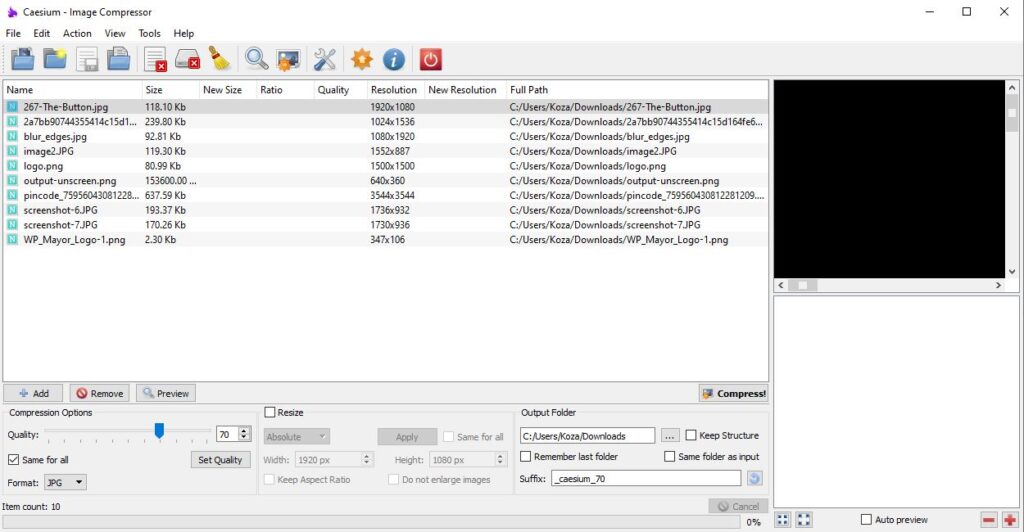
- Use optimized frames (size + compression)
- Preload intelligently (don’t block the page)
- Avoid heavy work on every scroll tick
SEO basics
Modern search engines can render JavaScript, but the safest approach is still:
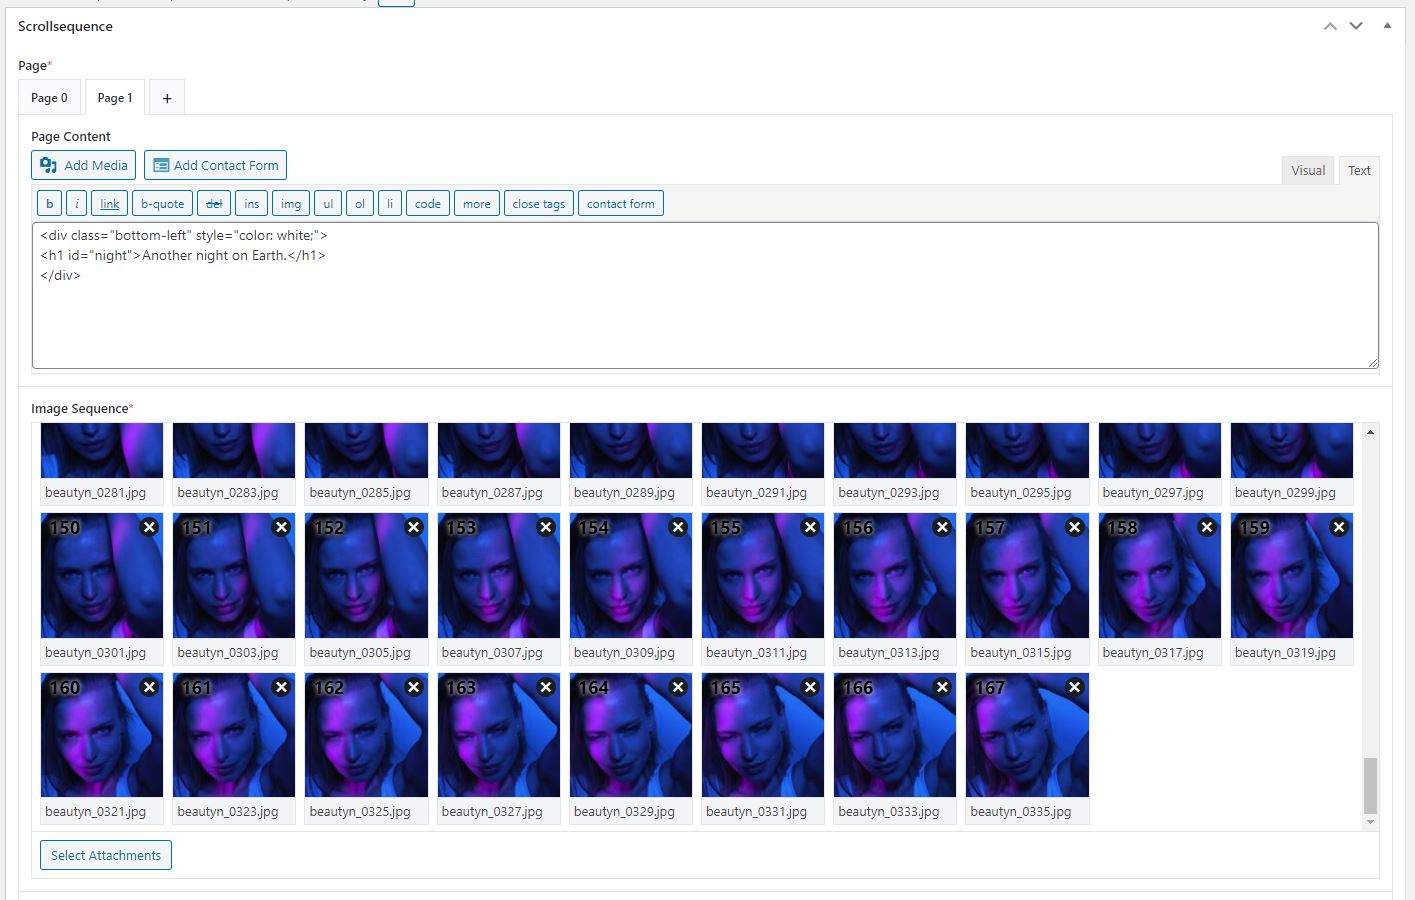
- Your key message exists as real HTML text
- The animation enhances the content (not replaces it)
- Provide fallbacks for slow devices or disabled JS
Conclusion: Bringing It All Together
Scroll-driven animations (or “video scroll” effects) can transform a bland page into an immersive journey. They combine the storytelling of video with the interactivity of user control – a potent combination to impress and engage visitors. And now you know how to create them, even if you’re not a coding expert.
I hope this guide has equipped you with both the inspiration and the practical know-how to implement your own scroll-triggered animations. Happy scrolling, and may your next web page wow your audience with that perfect blend of content and interactivity!